Set Up Jekyll with Ruby

Jekyll is a Static Site Generator that typically accepts Markdown for authoring. Jekyll has its own documentation site and a Quickstart. To prepare your environment to build Jekyll sites locally, follow the instructions for either Windows or MacOS.
Prerequisites
- Windows, MacOS, or a Linux-based environment.
- On MacOS, you will install Homebrew.
- On Windows, you must install Docker.
- On Windows, you must install Git for Windows which includes Git Bash.
Set up Ruby and Jekyll on Windows with Docker
On Windows, first install Docker and Git Bash, so that you are able to use Linux-based Docker images and commands. Then follow these steps to set up Jekyll and Ruby.
- Open Git Bash.
- Make sure that Docker commands run in Git Bash by checking the version value:
$ docker --version - Next, get a copy of the Jekyll Docker image that has all the gems for GitHub Pages deployment with this command:
$ docker pull jekyll/jekyll:pages - Now, you can run Jekyll with Ruby within the Docker image with one command, aliased and run in Git Bash.
Let’s make an alias though so you can follow the rest of the commands in this instruction set. Open Git Bash and then set up Notepad as your default editor by typing:
$ git config core.editor notepad
Then, you can type this in Git Bash to edit the .bash_profile file in Notepad:
$ notepad .bash_profile
Or, open .bash_profile in the Vim editor if you prefer to remain in Git Bash:
$ vim .bash_profile
- Next, copy these two commands into the
.bash_profilefile:alias jekyll="docker run --rm --volume=$(pwd):/srv/jekyll -p 4000:4000 jekyll/jekyll:pages jekyll" alias jekyll-serve="docker run --rm --volume=$(pwd):/srv/jekyll -p 4000:4000 jekyll/jekyll:pages jekyll serve --watch --incremental --force_polling" - Save the
.bash_profilefile and close the editor. On Vim, you save and close by entering command by pressing the esc key and then typing colon* + w + q,:wq, and then pressing enter.
When you start Git Bash the next time, the .bash_profile is automatically run and then the two commands, jekyll and jekyll-serve become available in Git Bash, run in Docker.
Set up Ruby and Jekyll on Windows Subsystem for Linux
You must be running Windows 10 x64 Creators Update Home, Pro, or Enterprise (non-LTSB SKU) or later in order to install Windows Subsystem for Linux (WSL). Use the WSL instructions to install WSL.
Then you can install Jekyll using the Jekyll instructions for the Linux distribution you chose such as Ubuntu or Fedora.
Set up Ruby and Jekyll on MacOS
- Install Homebrew. See the Homebrew site for instructions.
-
Use Homebrew to install a Ruby version manager.
$ brew install rbenv ruby-build -
Add rbenv to bash so that it loads every time you open a terminal.
$ echo 'if which rbenv > /dev/null; then eval "$(rbenv init -)"; fi' >> ~/.bash_profile -
Source your
.bash_profilefile.$ source ~/.bash_profile -
Install a specific version of Ruby.
$ rbenv install 2.3.1
$ rbenv global 2.3.1
$ ruby -v
Starting a Jekyll site
This help page from GitHub provides a great starting point for building a Jekyll site. In our case, we have a specific theme, minimal-mistakes, that we want to use, so these instructions offer exact steps.
-
Install the Bundler gem, which helps with Ruby dependencies.
$ gem install bundler - In the folder where you want to create the project, start with a new Jekyll build and use the
jekyll newcommand. Use.to indicate you want it created in the current directory.$ jekyll new . - Take a look at the files created in the directory with an
lscommand:
$ ls -A
.gitignore	Gemfile		_config.yml	about.md
404.html	Gemfile.lock	_posts		index.md
- Edit
_config.ymlin any text editor you like. Add these lines to ensure you use the Minimal Mistakes theme, and choose a color collection for the theme:
# Theme Settings
#
# Review documentation to determine if you should use `theme` or `remote_theme`
# https://mmistakes.github.io/minimal-mistakes/docs/quick-start-guide/#installing-the-theme

theme                  : "minimal-mistakes-jekyll"
# remote_theme           : "mmistakes/minimal-mistakes"
minimal_mistakes_skin    : "default" # "air", "aqua", "contrast", "dark", "dirt", "neon", "mint", "plum", "sunrise"
- Also in the
_config.ymlfile, edit the following:
title: "Site Title": Enter the title you want for the site that appears in the<title>tag.name: "Your Name": Enter the name for the authorship and ownership of the site. Could be a company name or team name.description: "An amazing website.": Write a one-line description of the site and its purpose.
You can work on the rest of the settings as you continue to build out the site.
- Move the root
index.mdfile toindex.htmlto work best with the Minimal Mistakes theme.$ mv index.md index.html - Write any text you want to appear on the landing page, below the front matter, which indicates to the theme how to build the file.
---
layout: home
author_profile: true
---

Welcome to our site! Please take a look around at the content available.
- In the
Gemfilein the root directory, replace gem “jekyll” with:gem "github-pages", group: :jekyll_plugins - Run
bundle updateand verify that all gems install properly.$ bundle updateIf you see an error, copy the error and enter it into Google to search for solutions to the error message.
Note: If you are working on an already-set-up Jekyll site, run
bundle installthe first time you are in a Jekyll docs directory or when you need to pick up theme changes locally.
Build a Jekyll site locally
Once you’ve prepared your environment, you can build locally and review the site in your browser.
-
Run the serve command.
$ bundle exec jekyll serve Configuration file: /path/to/configuration/file/project-name/_config.yml Configuration file: /path/to/configuration/file/project-name/_config.yml Source: /path/to/configuration/file/project-name Destination: /path/to/configuration/file/project-name/_site Incremental build: disabled. Enable with --incremental Generating... done in 22.964 seconds. Auto-regeneration: enabled for '/path/to/configuration/file/project-name' Configuration file: /path/to/configuration/file/project-name/_config.yml Server address: http://127.0.0.1:4000/ Server running... press ctrl-c to stop. - Use the Server address URL
http://127.0.0.1:4000/latest/in a browser to preview the content.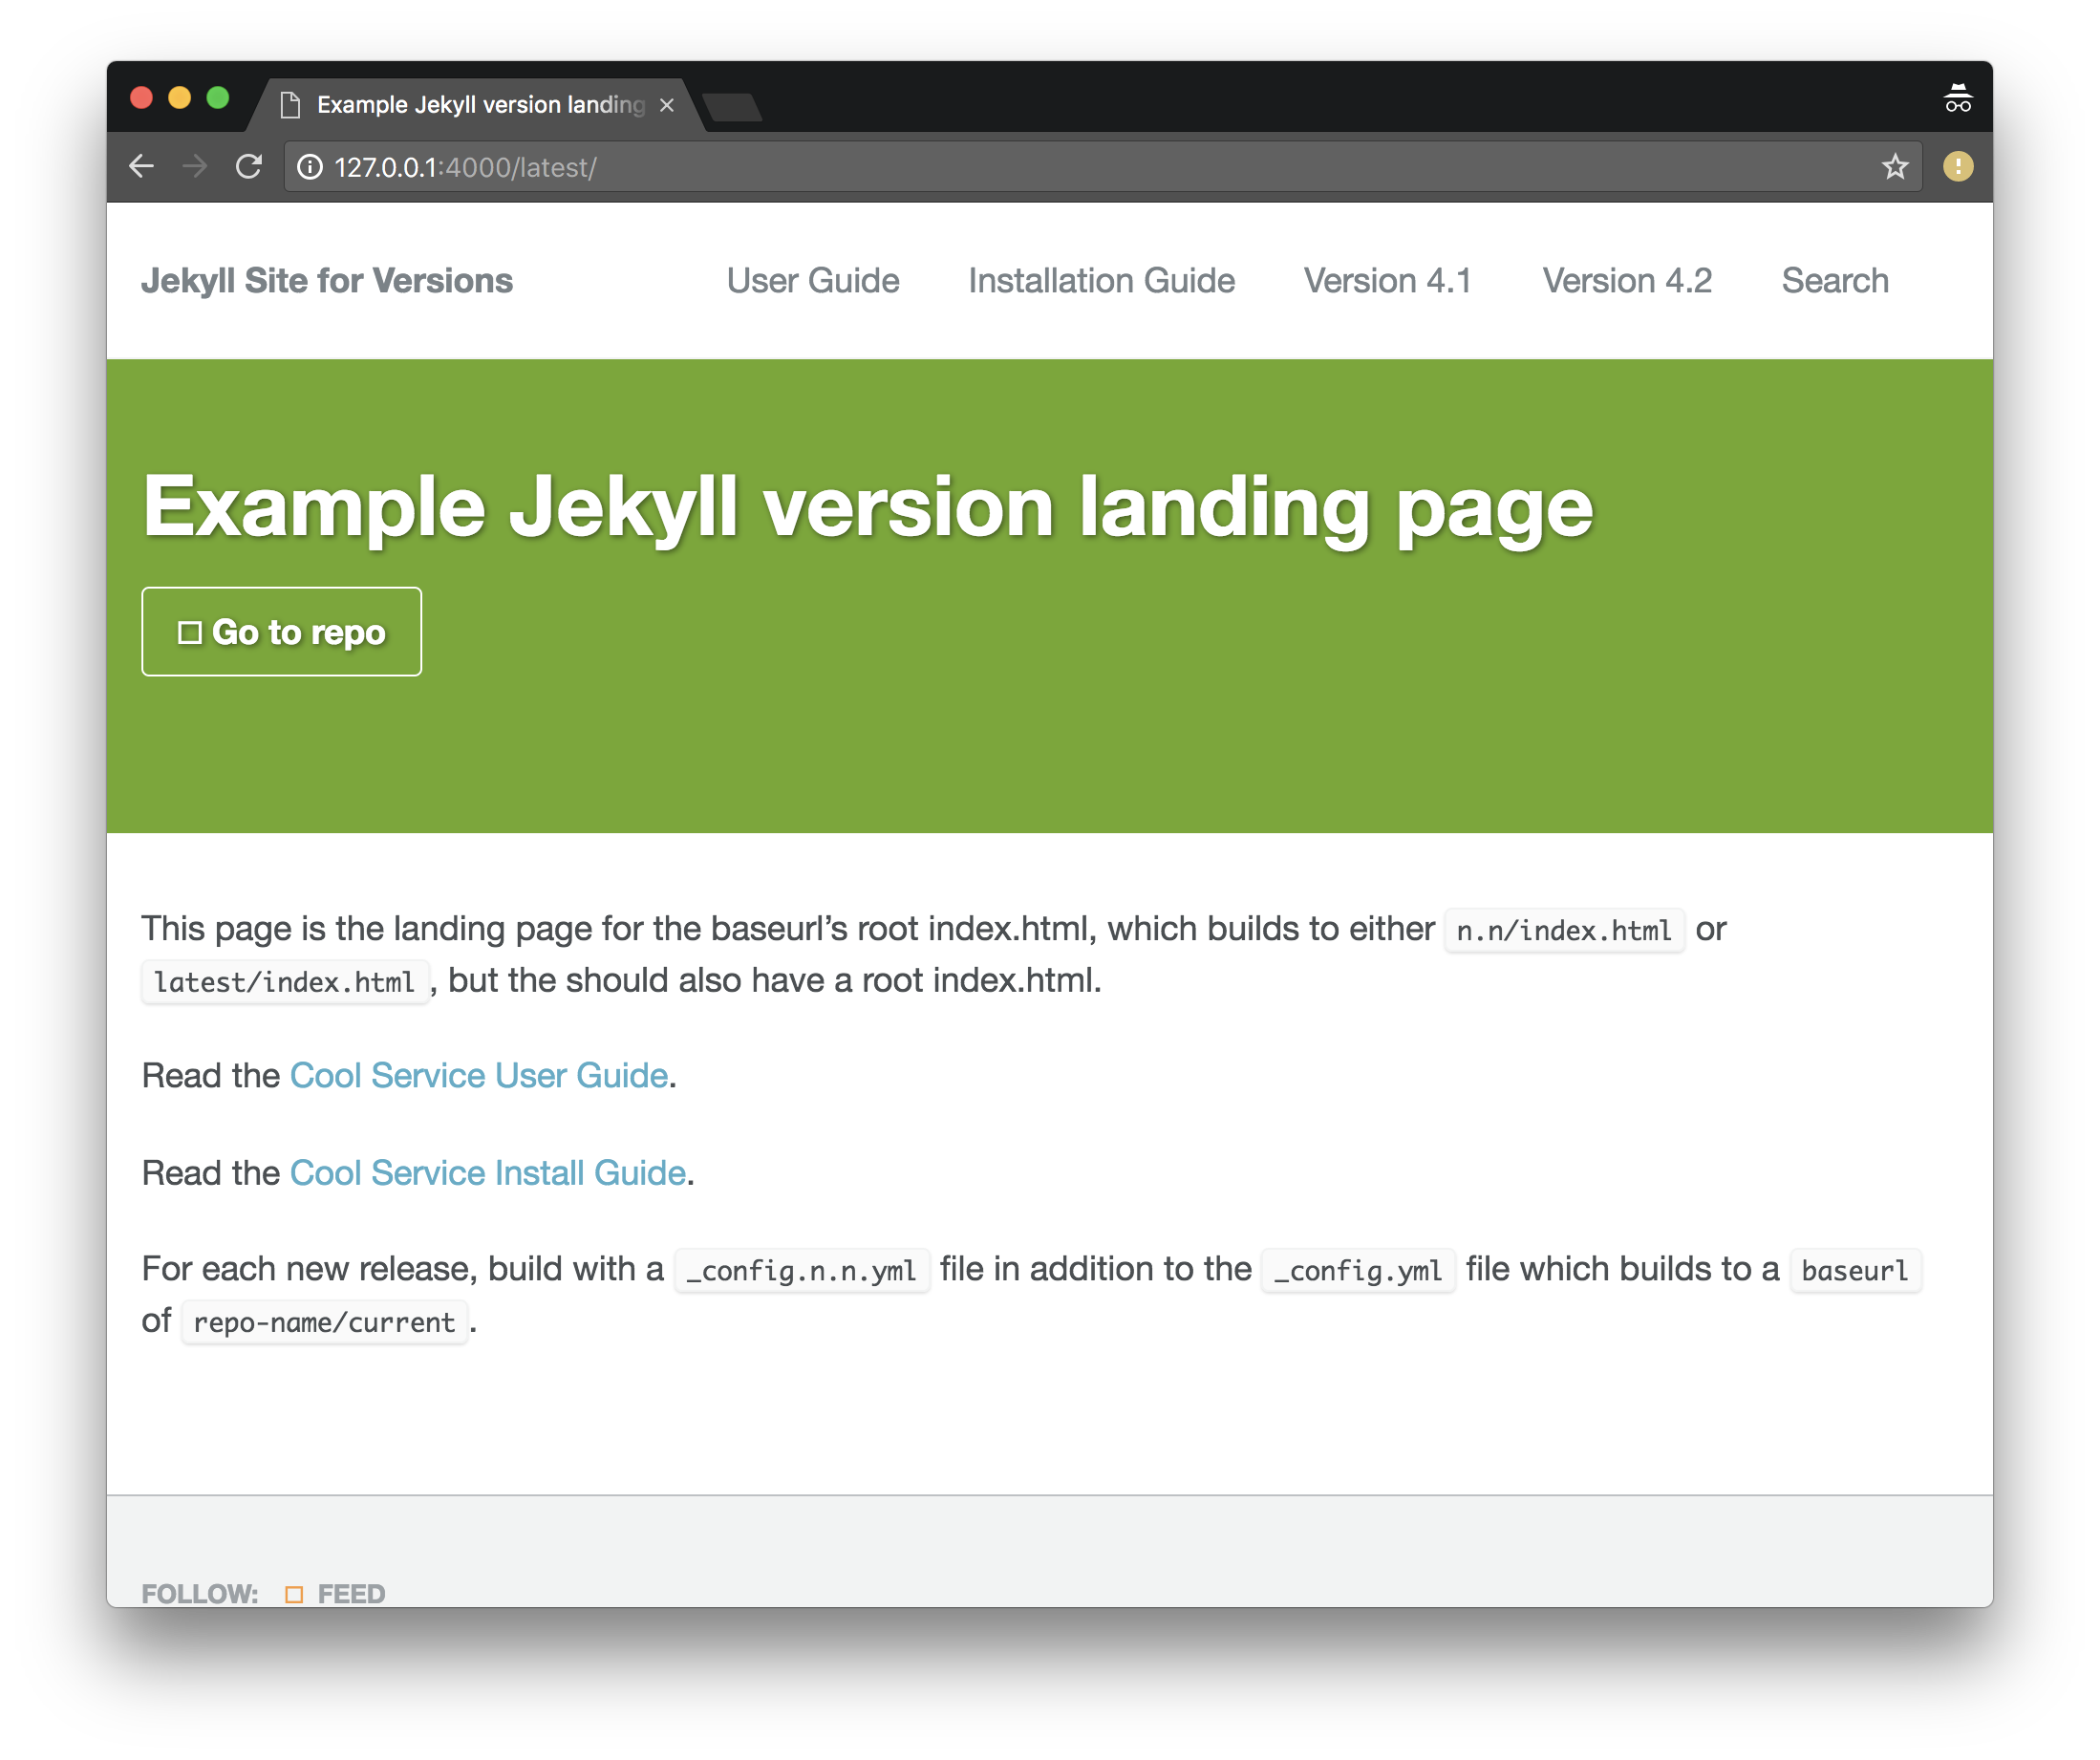
- Press
Ctrl+Cin the serve terminal to stop the server.TIP Leave the serve terminal open and running. Every time you save changes to a file, it automatically regenerates the site so you can test the output as you write. That said, if you change the
_config.ymlfile, you must stop (ctrl-c) and then re-run the serve command to see changes. - Don’t forget to add the files to a commit and then commit the changes so that you can track the changes and work with others on GitHub. Refer to Working with content in GitHub repositories.
What’s next
- Working with content in GitHub repositories
- Continuous Deployment (CD) for Documentation Sites
- Set Up Automated Tests for Docs
Evaluating options
- Evaluating Static Site Generator themes
- Evaluating table layouts and formatting
- Evaluating Static Site Generator search options